
This tutorial will introduce the integration of Primefaces, Spring Data & MongoDB frameworks. This tutorial assumes the you are familiar with the Spring Roo for creating the spring applications. Also, I assume that you are familiar with the Mongo DB. If you’re not, it’s good for you to go back into the below tutorials for getting the all of mentioned important principles. By the way, all of the required steps for creating a project and configure it for using Roo Shell are also covered inside this tutorial.
Note : This tutorial focuses only on creating the project using Spring Roo. we will not explain the code snippets since everything managed by Spring Roo.
Also read:
1. Tools Used
- JDK 1.6.
- Spring Roo 1.2.4. (It’s required for compatibility)
- Maven 3.
- Tomcat 7.35.
- MongoDB.
2. Database Model
Here is the MongoDB collections that is used for persisting the documents used in this tutorial.


3. Setup Mongo Persistence Layer
By executing mongo setup –databaseName JavaBeat –host 192.168.1.100 –port 27017 instruction, the persistence layer will be added and configured to your project.

4. Creating Entities
For creating the required entities, you should follow the below steps:
- By executing the entity mongo –class ~.roo.data.Address –identifierType java.math.BigInteger instruction, an Address entity has been created.
- Add the addressCountry field by executing field string –fieldName addressCountry –notNull instruction.
- Add the addressCity field by executing field string –fieldName addressCity –notNull instruction.
- By executing the entity mongo –class ~.roo.data.Employee –identifierType java.math.BigInteger instruction, an Employee entity has been created.
- Add the employeeName by executing field string –fieldName employeeName –notNull instruction.
- Add the address reference into Employee entity by executing field reference –fieldName address –type ~.roo.data.Address –notNull instruction.

5. Create Spring Data Repository
Spring Data Repository setup for MongoDB doesn’t differ from what’s happening in the Spring Roo & JPA. Here you just use a mongo keyword.
For creating Spring Data Repository, you have to execute the following commands:
- For creating Employee Repository execute repository mongo –interface ~.roo.repo.EmployeeRepository –entity ~.roo.data.Employee
- For creating Address Repository execute repository mongo –interface ~.roo.repo.AddressRepository –entity ~.roo.data.Address

6. Setup PrimeFaces Web Layer
The creating of web layer using JSF/Primefaces is identical to what you’ve achieved before in a previous tutorials. The different here, is that, we would create a Primefaces layer rather using of Spring MVC. By executing web jsf setup –implementation ORACLE_MOJARRA –library PRIMEFACES –theme EGGPLANT instruction, you’ve requested from Spring Roo to setup the required configuration files as well as the theme that would be used.

7. Create Managed Beans
For creating managed beans inside Spring Roo, all what you have to do is to execute the web jsf all –package ~.roo.web instruction.

Once, you’ve done creating the web application, you need to comment the Spring OpenEntityManagerInViewFilter and its filter mapping. That change is required to be able to running the application.
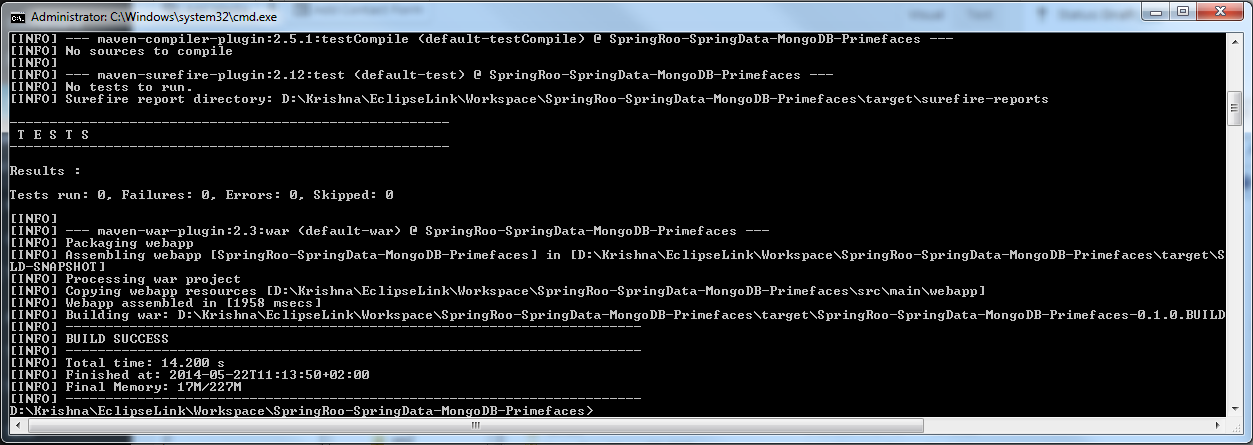
8. Build WAR using Maven
Navigate into your project directory using Windows command and execute the mvn clean package for generating the required WAR.
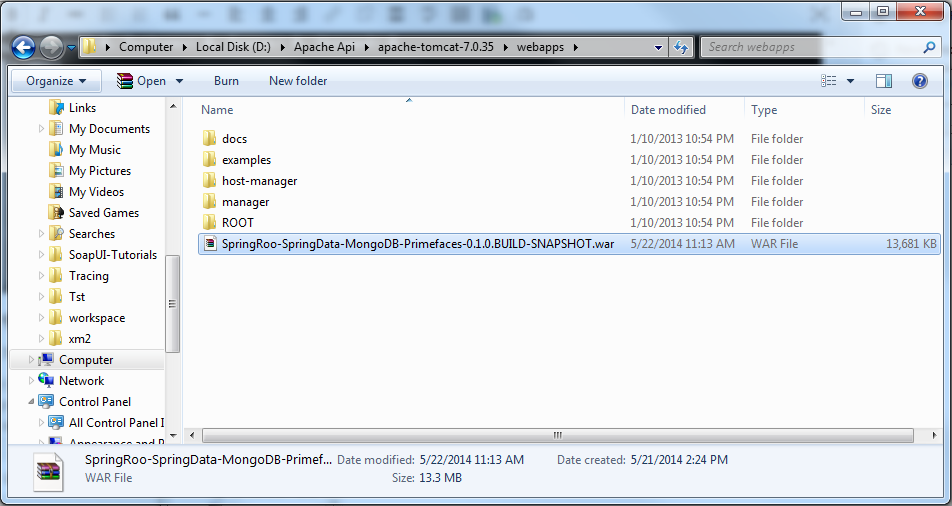
9. Install the Application Into Tomcat 7
Now, just copy the .war generated file into your Tomcat7 directory’s webapp folder and start your tomcat using the startup.bat.
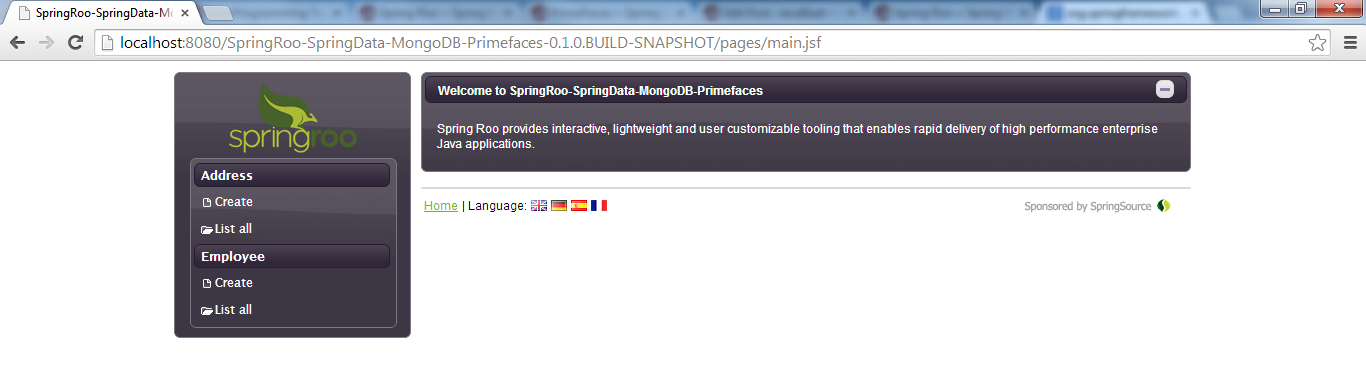
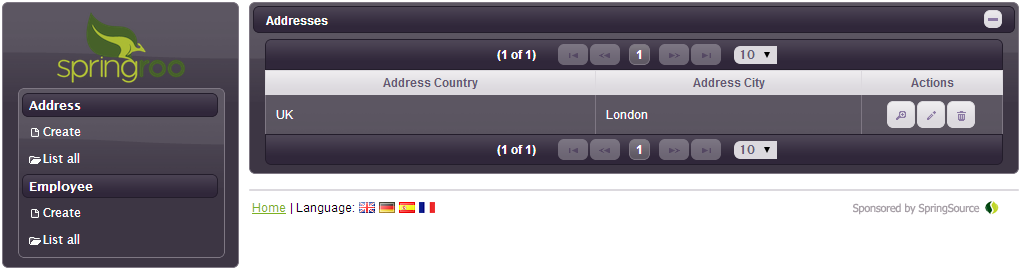
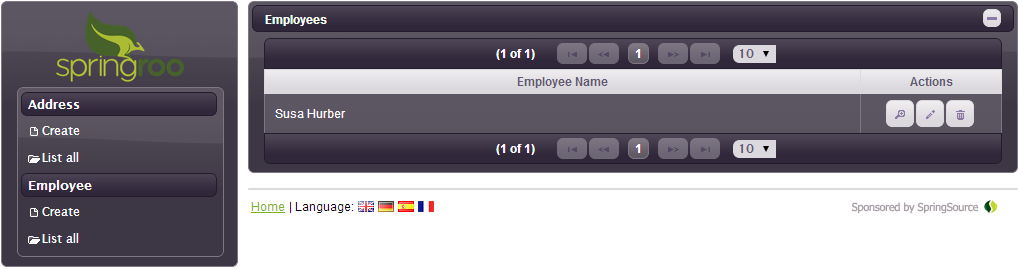
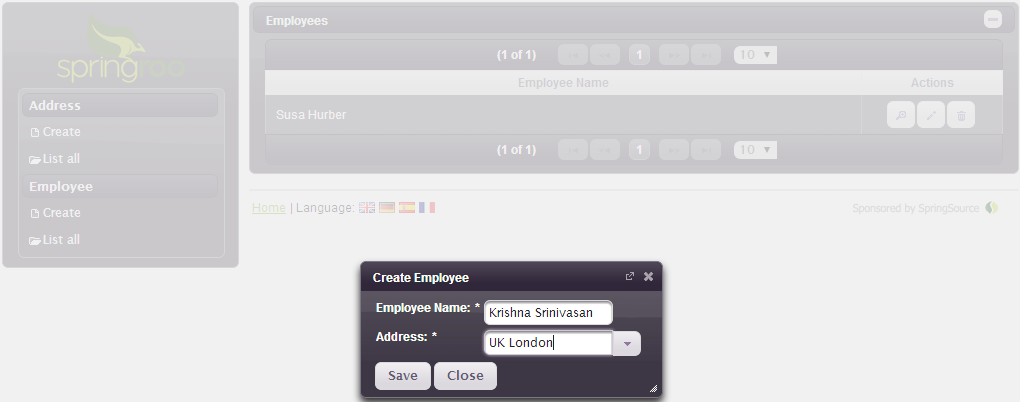
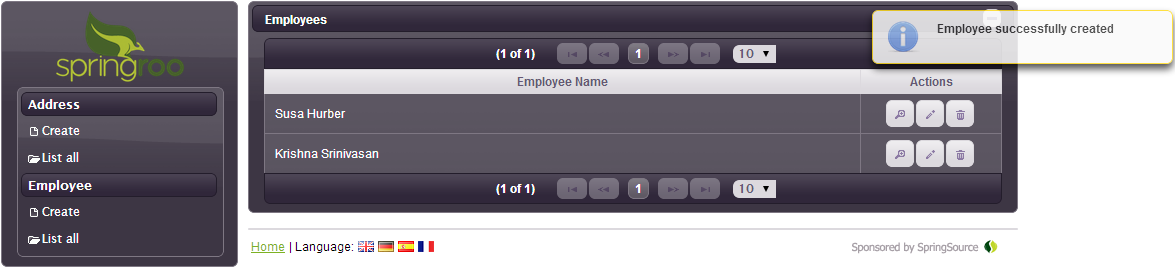
10. Spring Roo + Spring Data + PrimFaces + MongoDB Demo
11. MongoDB Documents


12. Summary
You’ve just developed a PrimeFaces web application that adhered the Spring Data repositories using Spring Roo. Your application is capable of persisting against MongoDB. If you have any questions, please write it in the comments section