In our previous tutorial, we’ve discussed about basics of Grails platform and we presented the all required steps that help you building a Grails application using its console with grails commands. The programming of Grails has been so easy, it’s just set of commands that you may need to execute for gaining a full-featured application. When the huge amount of resources has to be managed, then it becomes much hard and needs some sort of organization or handling of tasks such as debugging, profiling and sensitive editing becomes real needs.
also read:
– See more at: https://javabeat.net/grails/#sthash.iS2Ao0sA.dpuf
also read:
– See more at: https://javabeat.net/grails/#sthash.iS2Ao0sA.dpuf
also read:
– See more at: https://javabeat.net/grails/#sthash.iS2Ao0sA.dpuf
also read:
– See more at: https://javabeat.net/grails/#sthash.iS2Ao0sA.dpuf
also read:
– See more at: https://javabeat.net/grails/#sthash.iS2Ao0sA.dpuf
Groovy / Grails Tool Suite (GGTS) provides the out of the box integration for the Grails application development. It’s STS based (Spring Tool Suite) that’s based on Eclipse. That suite is packaged with the Groovy-Eclipse plugin for syntax highlighting and auto completion of Groovy code, and robust support for Grails artifacts.
This tutorial has assumed that you’re already having Grails platform installed into your machine as well as the grails special command is working on the console.
1. Install Groovy/Grails Suite
Installing Groovy/Grails suite could be done through the following steps:
- Make sure that you have installed the Grails platform into your machine. See Grails introduction that shows you the installation process.
- Download Groovy/Grails Suite.
- Start the installation of the executable file by double clicking on it.
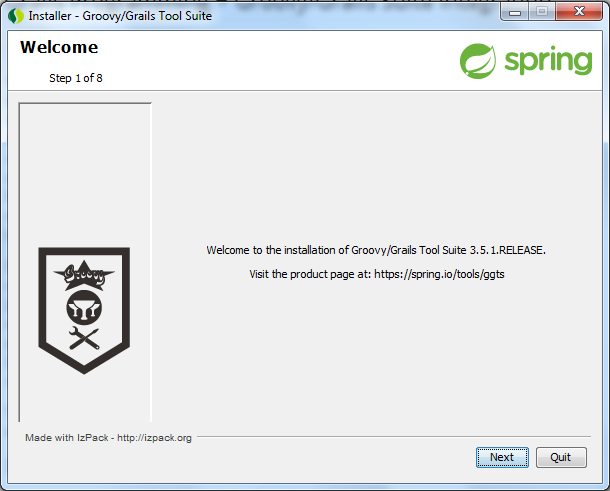
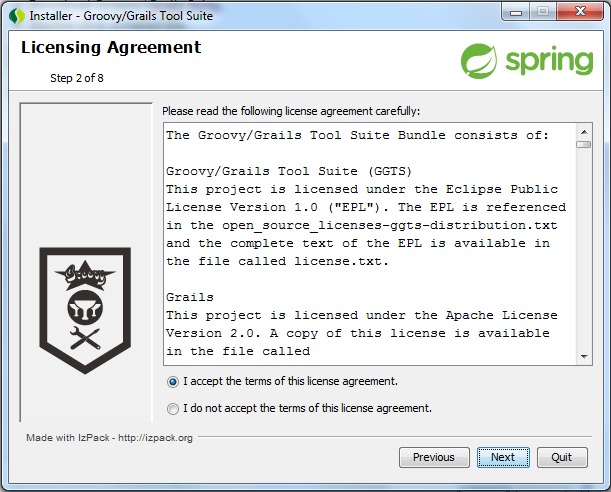
- Click next and accept the listed terms and terms.
- Click next and choose the installation path. For our installation we’ve used D:\Grails\sprinsource.
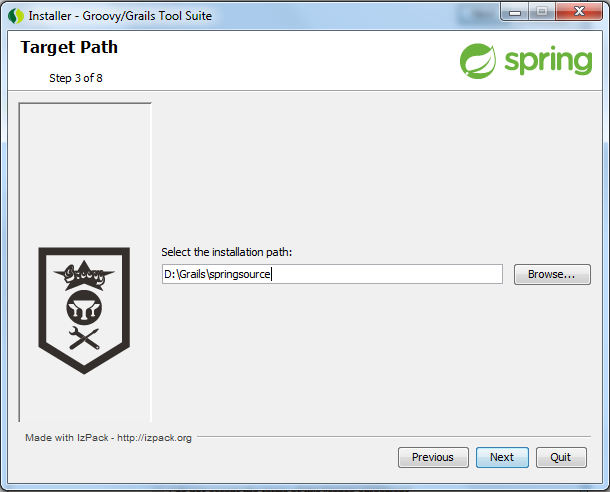
- In case, you’ve not created that directory, you will be notifying about the directory that will be created. Then Click next.
- Inside the packs window, just click next.
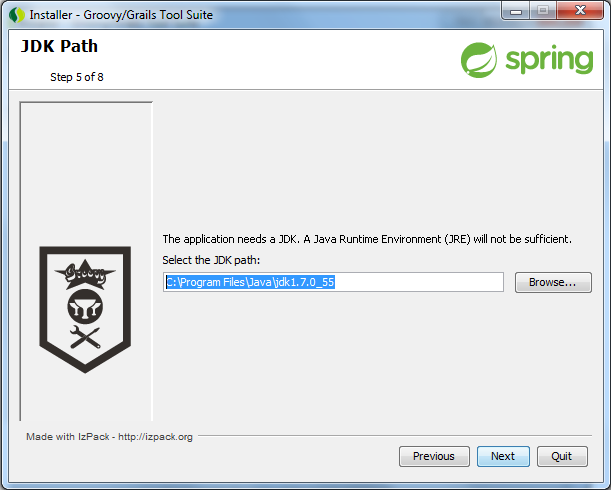
- Inside the JDK window, browsing your installed JDK. We will use JDK 1.7 located at C:\Program Files\Java\jdk1.7.0_55. Click next.
- Wait a while for finishing the installation.
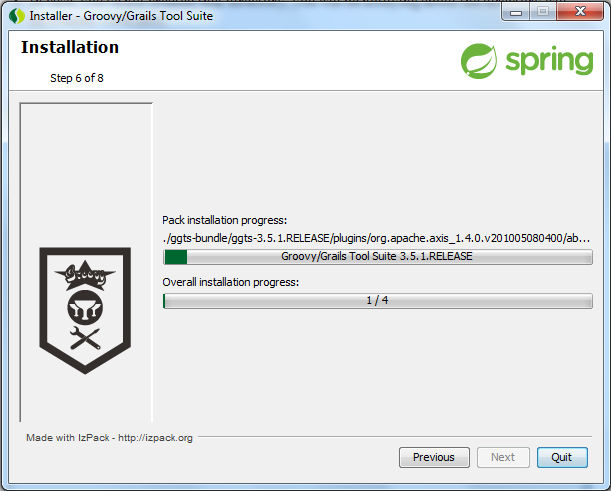
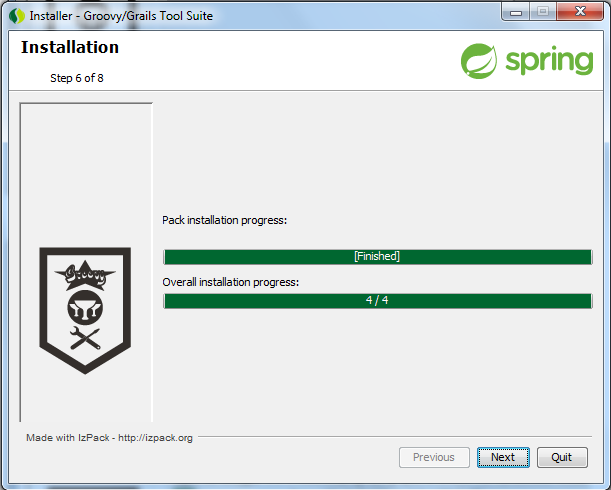
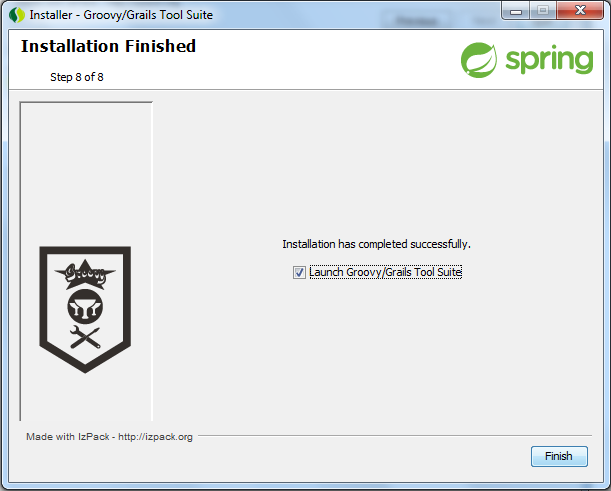
- Click next and setup shortcut and click next and finally finish for launching the suite.
- Setting up your workspace and click okay.
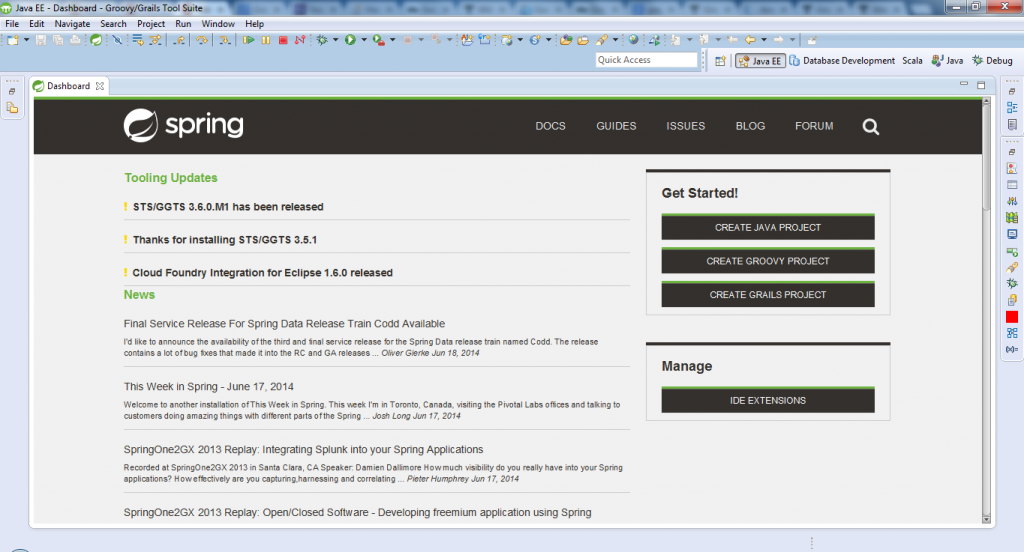
2. Create Grails Project
It’s time for creating a Grails project using suite installed. Follow the below steps for creating the project.
- Right click into the Project Explorer scope and choose New.
- From Wizard opened, expand the Grails node and choose Grails Project.
- Type into the project name and configure Grails installation.
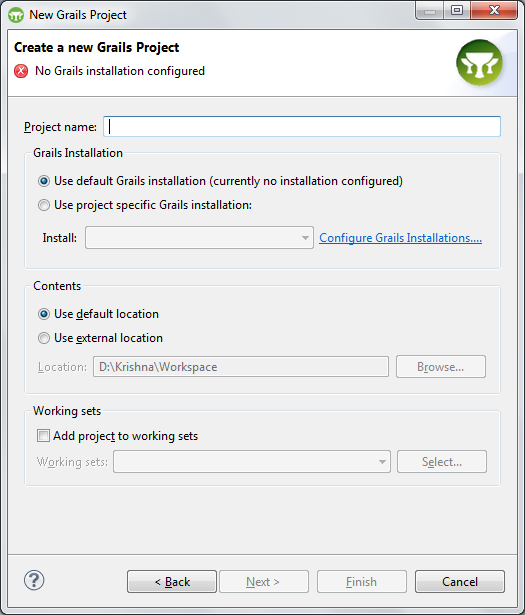
- For project name we’ve typed Grails-HelloWorldApplication.
- Configure the Grails installation by clicking the link “Configure Grails Installation” and from the preferences add the Grails that installed in the Grails Introduction Tutorial.
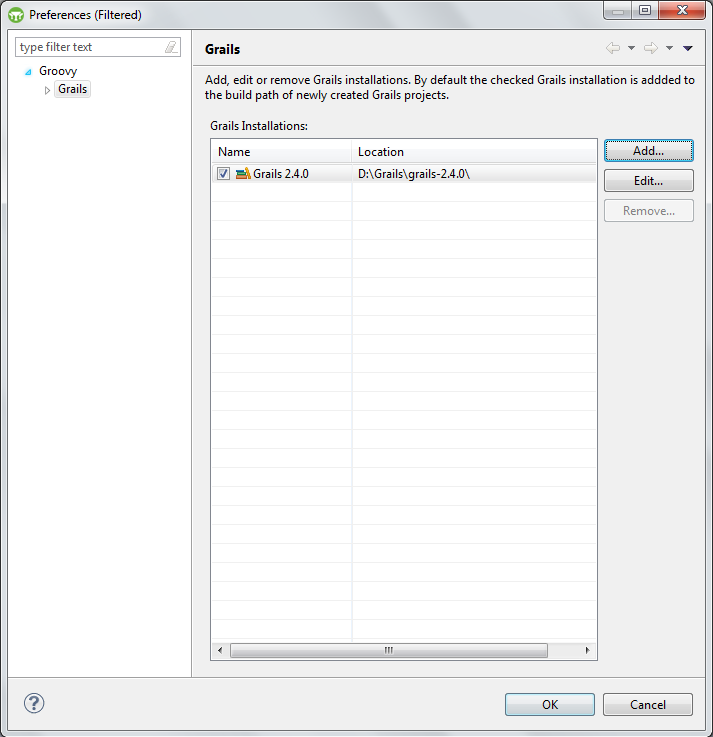
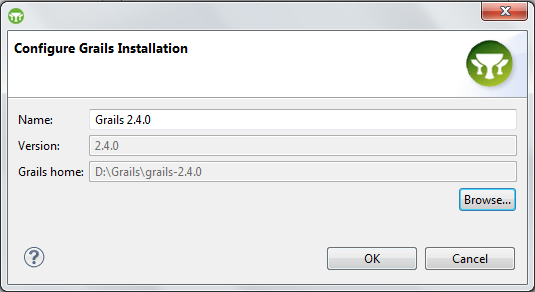
- Once you’ve reached into the below screen, just finish and you are about to getting a full-featured Grails project in your environment.
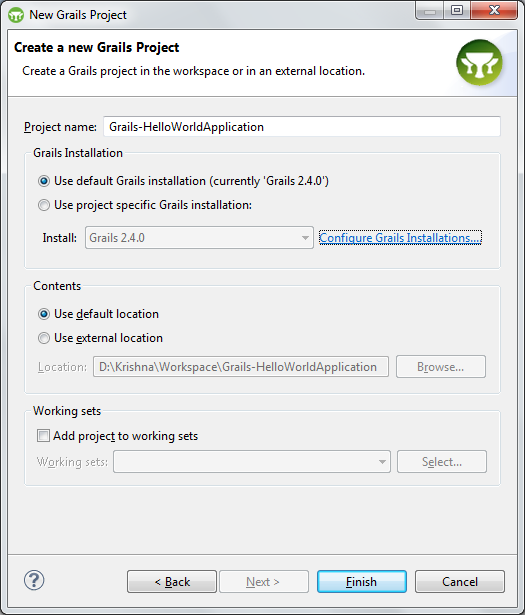
- You may be asked for enabling the Grails view perspective, if you would like that, just accept by clicking yes.
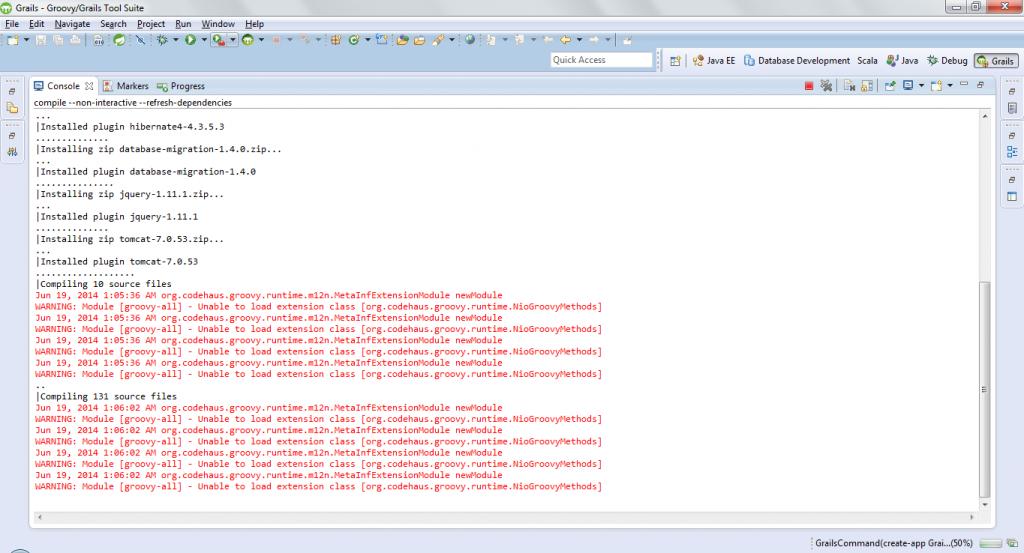
- Once you clicked Finish, the process of creation Grails project has been started, as you would see in the console of your Grails Suite.
- After you’ve noticed, it’s the time to return back into Project Explorer that should show your project structure.
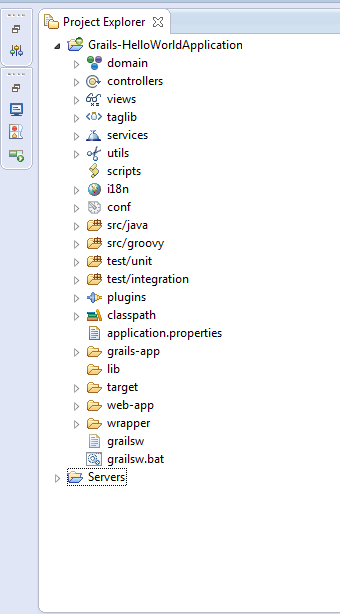
- Your project is created but it’s not compiled for one reason that it’s required a modern Groovy compiler 2.3 while the compiler that’s used in your installed suite was 2.1.x and it’s very old.
3. Add Groovy Compiler & Configure Your Workspace
For installing the latest compiler that Groovy provided, you have to follow the below steps:
- From the help menu select Install New Software.
- Type http://dist.springsource.org/snapshot/GRECLIPSE/e4.3/ into Work with input.
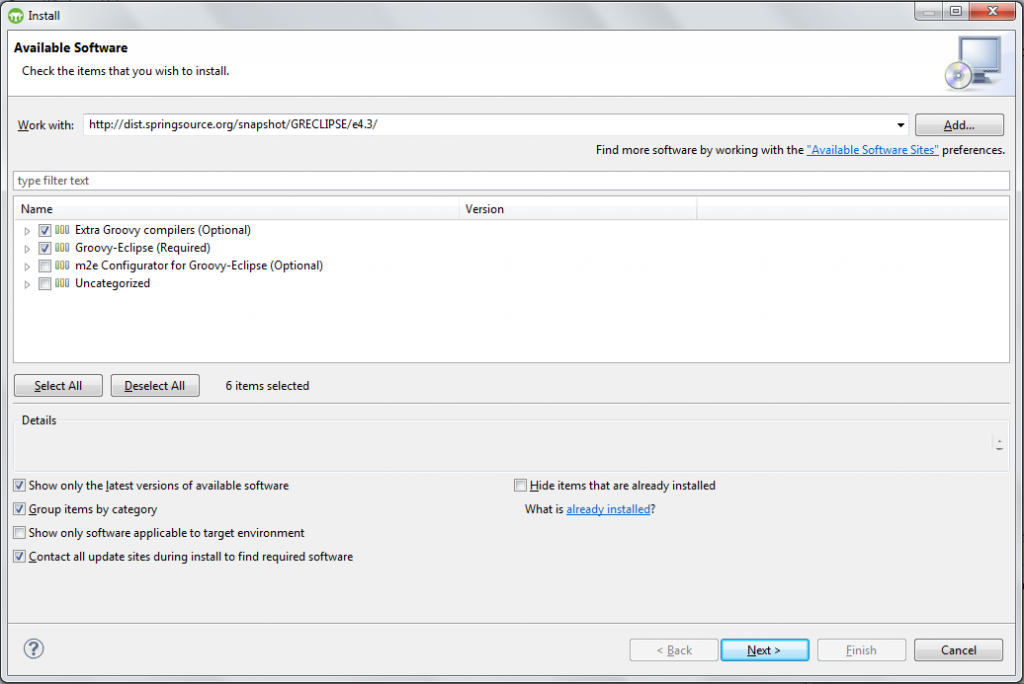
- Select Extra Groovy Compilers and Groovy-Eclipse. Click next and finish. Wait for installation to be finished.
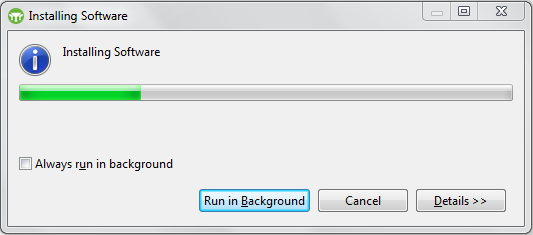
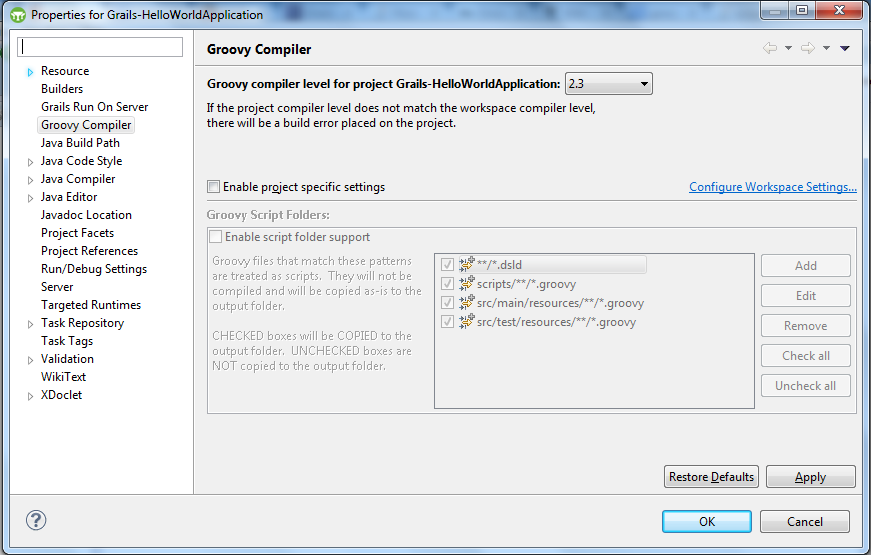
- Configure Workspace settings by clicking into the project created. Select properties and from Groovy compiler pane, press hyperlinked Configure Workspace Settings.
- From Compiler window press Select to 2.3 .3.xx-2014~.
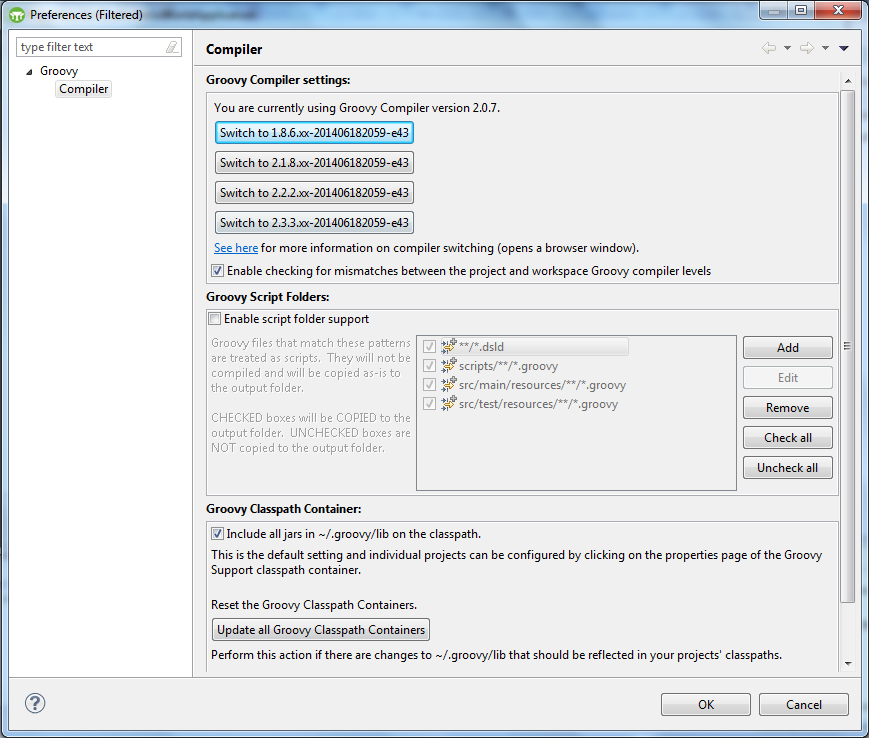
- Once you’ve switched into 2.3.3~ the suite would ask you for restarting, so just press yes.
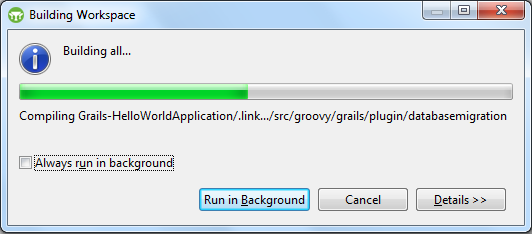
- Once the suite opened, select clean from the Project menu for cleaning the whole workspace and build it from scratch. That’s good for you to know if there are problems in your created project or not.
- Your project should be compiled successfully and no issues should be reported.
4. Running The Application
- Without adding any snippet of code, your Grails project should work seamlessly as it works in your first project that you’ve created at the introduction tutorial.
- For running the application, you have to right click into your project and select Run As and select Grails command (run-app). Wait for a while to see the console has activated and it’s running your application.
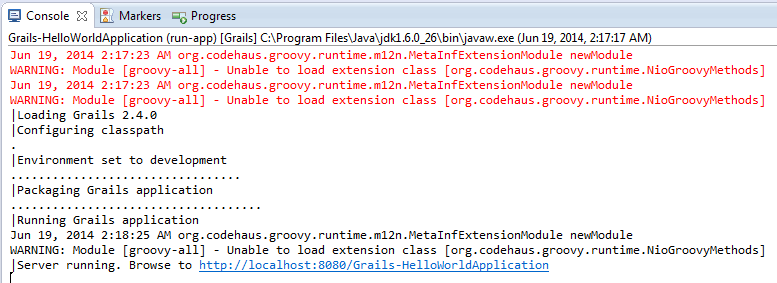
- Copy the link that listed above and paste it into your browser’s address.
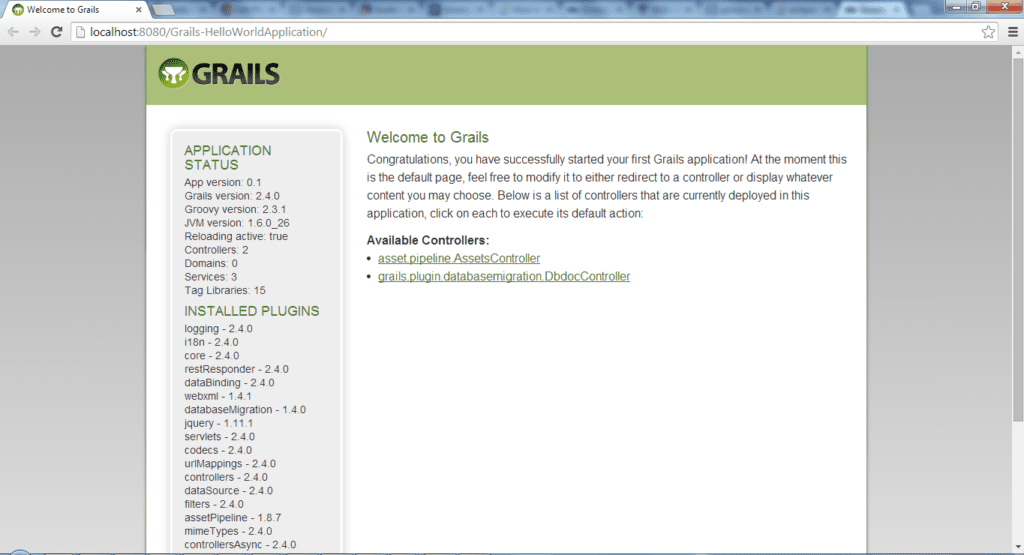
- As you’ve noticed, all of the listed controllers are provided by default for dummy Testing that you might need.
5. Create Controller
It’s the time for creating a controller using Groovy / Grails Suite. The process of controller creation is very simple by using the suite; the suite provide you a simple wizard for that. Follow the below steps for controller creation:
- Open your project and point at controllers.
- Right click and select New – Controller.
- Type HelloWorldController inside the name tesx box.
- Click on Finish button.
- Wait while the suite has started creating the controller you want as you can note in the suite console.
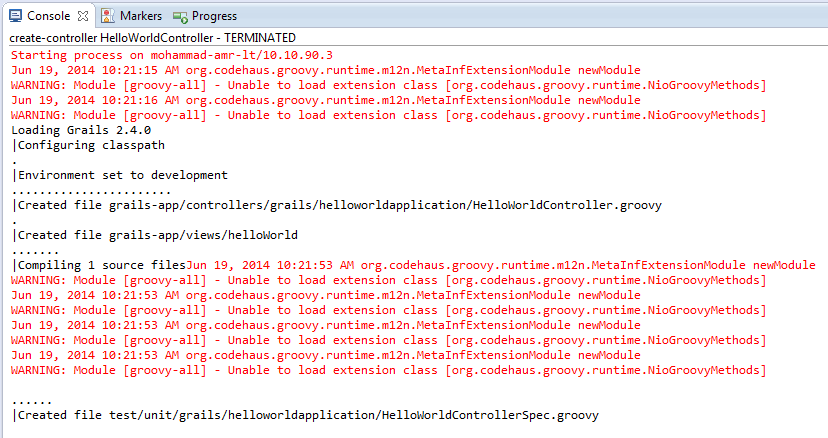
- Once the creation process finished, the controller will be displayed into your Workspace.
- Two files has been created as you’ve seen, one of them is the controller itself, while the other is just for your Test. (We’ll take a look at how could we doing a Unit Test in the another tutorial).
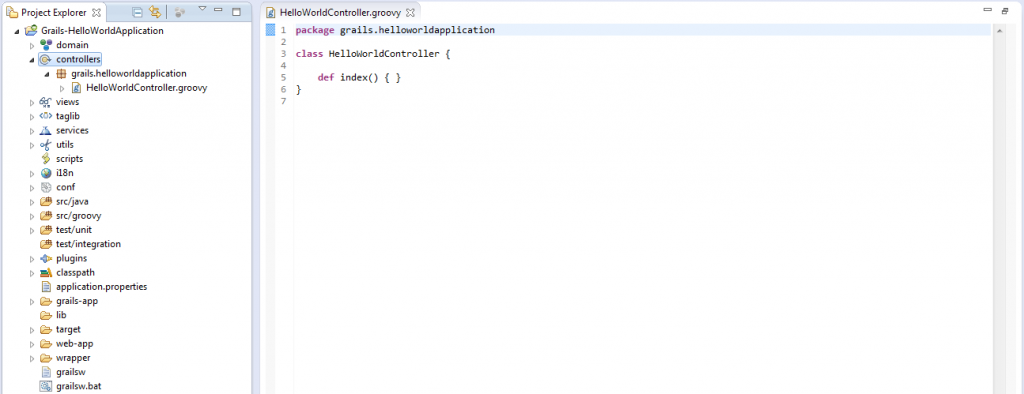
- As we’ve did in the introduction tutorial, like that controller contains one method called index as it could lead us for index.gsp view.
Let’s create the view and run the application to see.
6. Create View
As you’ve created controller via suite, the creation of view also can be through using wizard. Follow the below steps for creating your first view.
- Open the views directory inside your project.
- Point at helloworld package.
- Right click and select New – Groovy Server Pages (GSP).
- Type index as a name.
- Click finish.
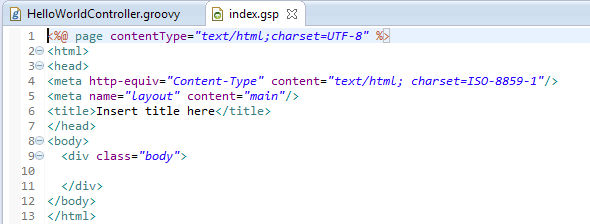
- Write down your Welcome Message using HTML Tags.

- From the Project menu – Clean.
- Right click on the project, Run As – Grails Command (run-app).
- Wait in the console until it provides you the application URL.
- The console prints out the required URL and is http://localhost:8080/Grails-HelloWorldApplication. Click on it for seeing your Grails main page.
- You should find out your controllers listed within the available controllers.
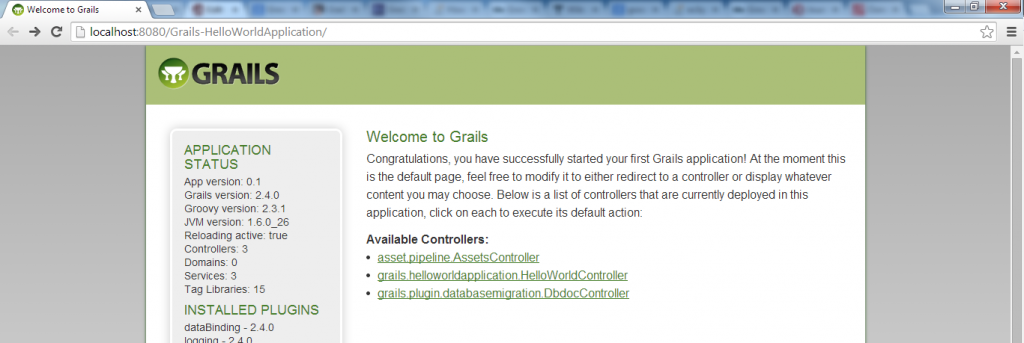
- Click on your HelloWorldController.

7. Summary
This tutorial is detailed one for how could you leverage Grails platform to be used through one of the most standardized IDE. Also, you will be able of define all what you want from Grails resources like controllers, views and others. If you have any questions, please write it in the comments section.

 Spring MVC + jQuery Integration Example