The main reason why Spring Boot is developed by Spring community is to simplify the packaging and deploying your spring applications to production. Keeping with that in mind, spring boot assumes all the default values loaded at startup is optimized for the production ready application. For example, caching of Thymeleaf templates are enabled by default which improves the performance in the production. However, these settings must be disabled for the development environment to test the applications effectively when ever you make the changes in the code.
This tutorial walks you through the various features available in the devtools module.
The table of contents for this tutorial:
- What is Spring Boot DevTools?
- Auto Restart
- Exclude Resources
- Disable Restart
- Watch Additional Paths
- Default Properties
- Live Reload
- Summary

What is Spring Boot devTools?
Spring Boot 1.3 ships with new module spring-boot-devtools. The primary goal of this module is to improve the development speed by enabling some of the key features that are important during the development phase of your project. This tutorial explains how to use spring boot devtools and different options available as part of the spring boot devtools.
You can include this module to your spring boot application by adding the following maven snippet:
<dependencies>
<dependency>
<groupId>org.springframework.boot</groupId>
<artifactId>spring-boot-devtools</artifactId>
</dependency>
</dependencies>
For Gradle build:
dependencies {
compile("org.springframework.boot:spring-boot-devtools")
}
Once you have added the above dependency to the spring boot application, it will add lot of spring-boot-devtools features.
Auto Restart
Greg L. Turnquist is correct, the real gem from spring boot is coming out. If you are a developer, you are well aware that how much important to auto load the application when there is some changes in the code. It is one of the main feature that lacks spring boot application since it’s inception. But, the devtools features brings the auto restart of the application on any code changes.
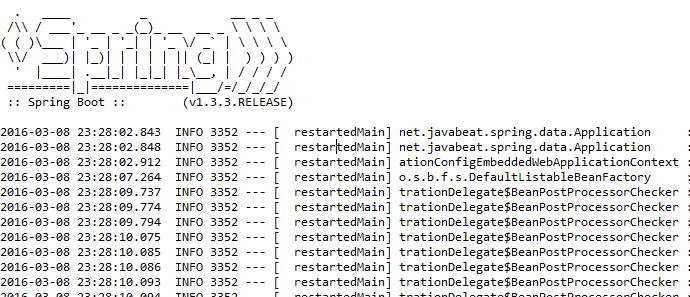
If there is any changes to the classpath, the application will automatically restart to effect the new changes. This is quite fast when I have tested in my local system. Spring boot team have managed two classloaders, one is for loading the project specific class files (which changes frequently) and another one is for third party libraries.
For any changes to the project files, spring boot restart a classloader that loads the project specific class files. Since it is not loading the entire application, the speed of the restart is much faster. If you have any experience, please write it in the comments section.

Exclude Resources
When auto restart is enabled, all the files in the classpath will be monitored for the changes. But, if there is any changes to the static files like templates, css, etc. not require any server restart for loading the resources. To overcome that issue, you can easily exclude the files under certain path from the auto restart option. You could add the resources that you don’t want to load on changes:
spring.devtools.restart.exclude=/META-INF/resources
Disable Restart
Also you can disable the restart option by add the spring.devtools.restart.enabled property to the application.properties file as follows:
spring.devtools.restart.enabled=false
The good thing is that when you set this property, immediately it takes effect and you need not manually stop and start the spring boot application.
Watch Additional Paths
By default, spring boot application performs automatic restart only when the resources under classpath changes. But, if you want to enable the auto restart for the resources outside the classpath, then you can use the following property to add the additional paths on auto restart.
spring.devtools.restart.additional-paths=/src
Default Properties
Spring boot supports multiple cache libraries for improving the performance. By default template caching is enabled by spring boot for improving the performance. However, this is a counter productive at the development time. Prior to spring boot 1.3.0, developers has to update the application.propertries file for disabling the cache.
Now it is changed. By adding the spring-boot-devtools, the following template caches are disabled by default:
- spring.thymeleaf.cache=false
- spring.freemarker.cache=false
- spring.groovy.template.cache=false
- spring.velocity.cache=false
- spring.mustache.cache=false
These configurations are updated in the file DevToolsPropertyDefaultsPostProcessor.java
Live Reload
spring-boot-devtools includes the embeded LiveReload server. Whenever there is any changes to the server, the browser will be trigger for the refresh. You can get the free extension for the live reload here.
If you don’t want to start the LiveReload server on the start up, please add the following entry to the application.properties:
spring.devtools.livereload.enabled=false
Note that you will be able to run only one LiveReload server at a time, if you are running multiple applications in your IDE, the first one will have the LiveReload enabled.
You can see the LiveReload server startup message at the console. If you set the spring.devtools.livereload.enabled property to false, then the server will not be started when spring boot initializes the application.

Summary
I hope this tutorial provides good information on what is spring boot devtools, what are the features in the devtools and how to use them. At high level, it is an additional module to the spring application for improving the productivity. Especially, the auto restart feature is very useful at the development time. If you have any questions, please write it in the comment section.
Thank you for reading my blog!! Happy Reading!!

 Caching Support in Spring Boot