
In this article I shall detail you about the basics of creating a static HTML page. This article will help beginners who want to create a website of their own or write an HTML page from scratch. Though there are innumerable sites with such related data but I felt I personally should put forth my experiences in writing a static HTML page from scratch. I call this HTML static as I don’t want any dynamic data right now. In my next articles I shall cover the inclusion of dynamic data and other stuff related to HTML. follow us on @twitter and @facebook
Tools Required
To write an HTML page and execute the code you don’t need any specific tools or software. You can do away with a simple text editor like notepad.
Though you can start with a text editor, there are currently many HTML editors available in market. HTML editors are perfect for those who are less experienced with HTML editor software, those who do not know HTML code and those looking for an all-in-one HTML editor. Some of the HTML editors are listed below:
- Adobe Dreamweaver: It is available for both Windows and Macintosh operating systems. Dreamweaver can develop JSP, XHTML, PHP, and XML.
- Microsoft Expression Studio 4 Ultimate: This only works with Windows operating systems. It provides full graphic, video and web design tools.
- Sea Monkey: This works with Windows, Macintosh and Linux operating systems. Sea Monkey also includes a web browser and email client.
- Komondo Edit Developers: It is perfect for HTML and CSS development. It also has a multitude of add-ons and extensions available to personalize it for each developer.
- Eclipse: This HTML text editor works with Windows, Macintosh and Linux operating systems, and is a complex program perfect for extensive coding in different platforms and languages.
- Aptana Studio 2: This HTML object editor is available for Windows, Macintosh and Linux operating systems. It focuses on JavaScript development for Rich Internet Applications
These editors are also used by experienced professional website developers to get a rich feel of their applications.
What is HTML?
HTML stands for “HyperText Mark-up Language” and it is the language your browser understands.
The HTML standards are maintained by the W3C. Since the early days of the web, there have been many versions of HTML as listed below:
- Version HTML was developed in the year 1991.
- Version HTML+ was developed in the year 1993.
- Version HTML 2.0 was developed in the year 1995.
- Version HTML 3.2 was developed in the year 1997.
- Version HTML4.01 was developed in the year 1999.
- Version XHTML1.0 was developed in the year 2000.
- Version HTML5 was developed in the year 2012.
- Version XHTML5 was developed in the year 2013.
Basic HTML Page
A basic HTML page contents would be as shown below:
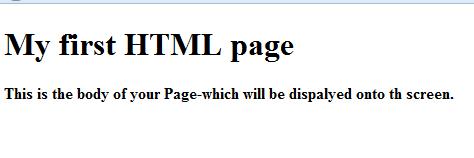
<!DOCTYPE html>
<html>
   <head>
	 <title>
	 	Your Page Title Goes Here--which won't be diaplyed
	 </title>
   </head>
   <body>
   <h1>My first HTML page</h1>
   <p><b>This is the body of your Page-which will be dispalyed onto th screen.<b></p>
   </body>
</html>
Points to be noted:
- <!DOCTYPE html> defines the document type. This helps the browser to display a web page correctly.
- The text between <html> and </html> describes the web page.
- The <head> element consists of document title. This element can aso contain styles, Metadata, scripts and links.
- The element <body> consists of data that is visible on the web browser.
- The text between <p>and </p> is displayed as a paragraph
Now that you the tags, let’s save this file as example.html. Now open this saved html file with nay web browser you have on your system. The following screen is displayed.
Adding styles to your HTML page
Now that your basic HTML page is ready let’s add some style to the page by adding color, changing fonts and adding header and footer to the page. There are two ways we can add the styles:
- Add the styles diectly in the tags. For example:
<body style="bgcolor:red"></body>
- Else put all the styling things in a seperate CSS (Cascading StyleSheets) and link this stylesheet in your HTML page as shown below:
Add the following line under the <head> element in the example.html file.
<link rel="stylesheet" type="text/css" href="style.css">
The revised file is as below:
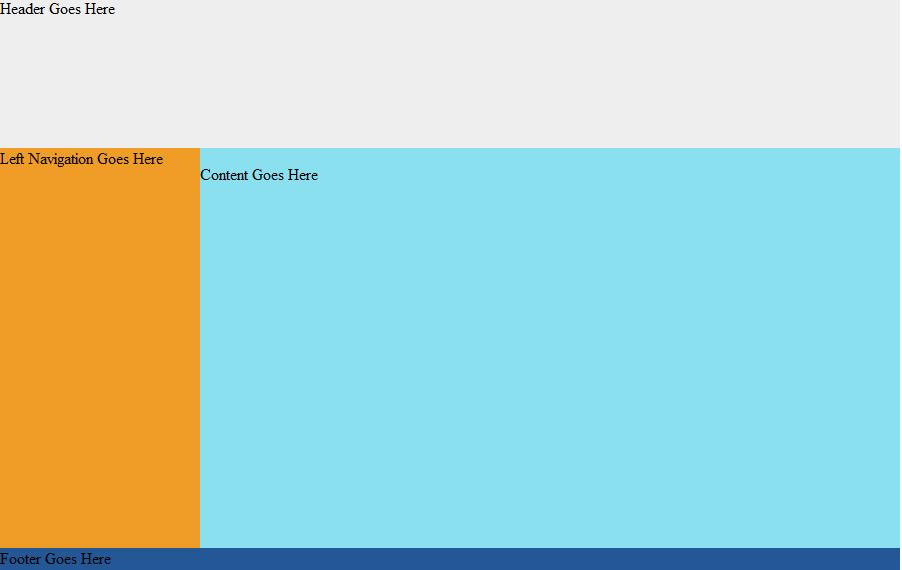
<!DOCTYPE html>
<!DOCTYPE html>
<html>
   <head>
	 <title>
	 	Your Page Title Goes Here--which won't be diaplyed
	 </title>
	 <link rel="stylesheet" type="text/css" href="style.css"></link>
   </head>
   <body>
   <div id="container"> </div>
   <div id="header"> Header Goes Here</div>
   <div id="sidebar"> Left Navigation Goes Here</div>
   <div id="content"> <p>Content Goes Here</p></div>
   <div id="footer"> Footer Goes Here </div>
   </body>
</html>
The contents of style.css are as below:
body {background: #ffffff; margin: 0; padding: 0;}
a {color: #2b2bf6;}
#container {
width: 900px;
margin: 0;
padding: 0;
background: #dddddd;}

#header {
width: 900px;
height: 150px;
margin: 0;
padding: 0;
border: 0;
background: #EEEEEE;}

#sidebar {
width: 200px;
height: 400px;
margin: 0;
padding: 0;
border: 0;
float: left;
background: #f09d28;}

#content {
width: 700px;
height: 400px;
margin: 0;
padding: 0;
border: 0;
float: left;
background: #8be0ef;}

#footer {
width: 900px;
height: 70px;
margin: 0;
padding: 0;
border: 0;
float: left;
background: #245796;
clear:both;}
Save this file as style.css under the same directory where your example.html is saved. Here #header, # sidebar etc are called the Selector. And each of these selector’s have {property: value} set. For example:width: 900px;. Now open the file in the web browser ad you will the screen as below:
You can adjust the section widths, heights, colors, etc. in your stylesheet to get the look you want. You can add the font styles as below:
Say for content you want the font to be:
#content p {font-family: comic sans ms; font-size: 14px}
Then just add this to your stylesheet as below:
body {background: #ffffff; margin: 0; padding: 0;}
a {color: #2b2bf6;}
#container {
width: 900px;
margin: 0;
padding: 0;
background: #dddddd;}
#header {
width: 900px;
height: 150px;
margin: 0;
padding: 0;
border: 0;
background: #EEEEEE;}
#sidebar {
width: 200px;
height: 400px;
margin: 0;
padding: 0;
border: 0;
float: left;
background: #f09d28;}
#content {
width: 700px;
height: 400px;
margin: 0;
padding: 0;
border: 0;
float: left;
background: #8be0ef;}
#footer {
width: 900px;
height: 70px;
margin: 0;
padding: 0;
border: 0;
float: left;
background: #245796;
clear:both;}
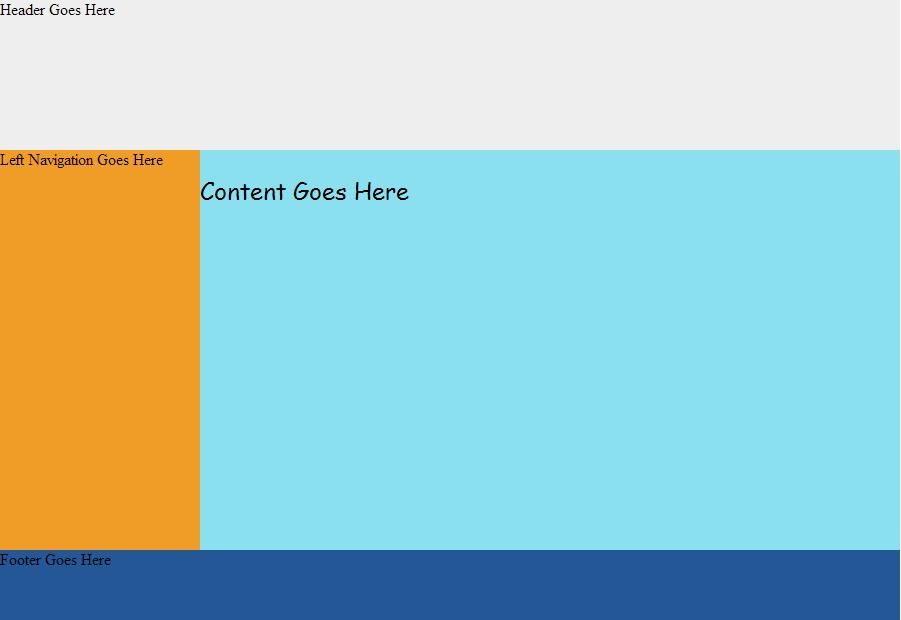
#content p {font-family: comic sans ms; font-size: 24px}
Now save the file and open the example.html in your browser, you see the page as below:
Summary
This article demonstrated a creating a basic HTML web page. You also saw how to style things in the HTML using CSS. With practice you can achieve any kind of design and look you want for your web page. That’s all for now. In the next articles I shall discuss about some more styling features of CSS and HTML.If you are interested in receiving the future articles, please subscribe here. follow us on @twitter and @facebook