
This example shows how to load the properties file values using the @Value annotation. Accessing the property file values in the Spring application involves the following steps:
- Add the property file details to spring bean configuration file. You have to use the “classpath” prefix if you want to load the files from the classpath.
- Create a properties file in the same name that is configured in the XML file and put it under the classpath folders. In most scenarios, source folders will be by default kept under the classpath.
- Use @Value annotation to get the property valye. @Value annotation takes the string parameter which is “key” used in the properties file. This annotation has to be used with variables to inject the value.
Lets look at the following example code:
1. Spring MVC Configurations
spring4-mvc-dispatcher-servlet.xml
<beans xmlns="http://www.springframework.org/schema/beans"
    xmlns:xsi="http://www.w3.org/2001/XMLSchema-instance"
    xmlns:websocket="http://www.springframework.org/schema/websocket"
    xmlns:context="http://www.springframework.org/schema/context"
    xsi:schemaLocation="
        http://www.springframework.org/schema/beans
        http://www.springframework.org/schema/beans/spring-beans.xsd
		http://www.springframework.org/schema/context
		http://www.springframework.org/schema/context/spring-context.xsd
        http://www.springframework.org/schema/websocket
        http://www.springframework.org/schema/websocket/spring-websocket-4.0.xsd">

<context:component-scan base-package="com.javabeat.controller" />
<context:property-placeholder location="classpath:application.properties"/>
<bean
		class="org.springframework.web.servlet.view.InternalResourceViewResolver">
		<property name="prefix">
			<value>/WEB-INF/jsp/</value>
		</property>
		<property name="suffix">
			<value>.jsp</value>
		</property>
	</bean>

</beans>
2. Application Properties File
application.properties
msg=Spring Application Properties!!
3. Spring MVC Controller
HelloController.java
package com.javabeat.controller;

import org.springframework.beans.factory.annotation.Value;
import org.springframework.stereotype.Controller;
import org.springframework.ui.ModelMap;
import org.springframework.web.bind.annotation.RequestMapping;
import org.springframework.web.bind.annotation.RequestMethod;

@Controller
@RequestMapping("/welcome")
public class HelloController {
	@Value("${msg}")
	private String msg;

	@RequestMapping(method = RequestMethod.GET)
	public String printWelcome(ModelMap model) {
		model.addAttribute("msg", this.msg);
		return "hello";

	}

}
4. Views
hello.jsp
<html>
<body>
	Your Message : ${msg}
</body>
</html>
5. Web Deployment Descriptor
web.xml
<?xml version="1.0" encoding="UTF-8"?>
<web-app xmlns:xsi="http://www.w3.org/2001/XMLSchema-instance"
xmlns="http://java.sun.com/xml/ns/javaee"
xmlns:web="http://java.sun.com/xml/ns/javaee/web-app_2_5.xsd"
xsi:schemaLocation="http://java.sun.com/xml/ns/javaee
http://java.sun.com/xml/ns/javaee/web-app_3_0.xsd"
id="WebApp_ID" version="3.0">
<display-name>Spring MVC 4.0 Web Application</display-name>
	<servlet>
		<servlet-name>spring4-mvc-dispatcher</servlet-name>
		<servlet-class>
			org.springframework.web.servlet.DispatcherServlet
        </servlet-class>
		<load-on-startup>1</load-on-startup>
	</servlet>

	<servlet-mapping>
		<servlet-name>spring4-mvc-dispatcher</servlet-name>
		<url-pattern>/</url-pattern>
	</servlet-mapping>
</web-app>
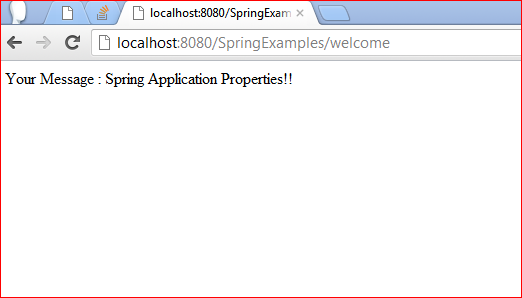
6. Demo
If you run the above example, you would get the below output.
 How To Pass Multiple Parameters To Spring MVC Controller