
Xcode 5.0 is an IDE used for software development. It is a tool developed by Apple. Xcode 5.0 and later helps you to design and develop iOS application for iOS 7 and Mac OSx. You can download the IDE from apple developer website for Mac OS.
Let us start developing our first application in Xcode, “Hello World” application, which displays a message “Hello World” in iPhone simulator. The below application is a single view application, the application consists of interface(.xib file) which contains a label that displays a message “Hello World”. It is a very simple application that gives us an idea of how to use Xcode to create, run and debug the application.
1. Create XCode Project
Create new Xcode project. Open Xcode application, click on File->New->Project, a window opens which is shown below. Choose iOS from left panel and “Single View Application” from right panel and click Next.

Type your project name “HelloWorldApp” and you can give your organization name and company identifier. These details helps you to create “Bundle Identifier” which is used while submitting your app to app store and it should be unique from other applications present in your app store.

2. Files in Project Navigator
Now that the project is created, we can look into few files present in the project navigator.
- “main.m” file is present under “Supporting File” group, calls the “AppDelagate” class which in turn launches the application.
- AppDelegate.h and AppDelegate.m are the application delegate class, which helps to launch the application, “didFinishLaunchingWithOptions” function can be used to perform any action while launching the application. The class also helps us to manage the application when it goes to background or comes to foreground etc., there are delegate methods present in the AppDelegate class.
- Main.Storyboard consists of a view controller. The view controller contains a view where we can design our UI.
- ViewController.h and ViewController.m files are used to control the view, by default the view in Main.Storyboard is mapped to the ViewController class.You can check it out in the class attribute in Identity Inspector(Snapshot is given below).


3. Designing User Interface
Drag and drop a label to the view from Object library from the right panel as shown below.

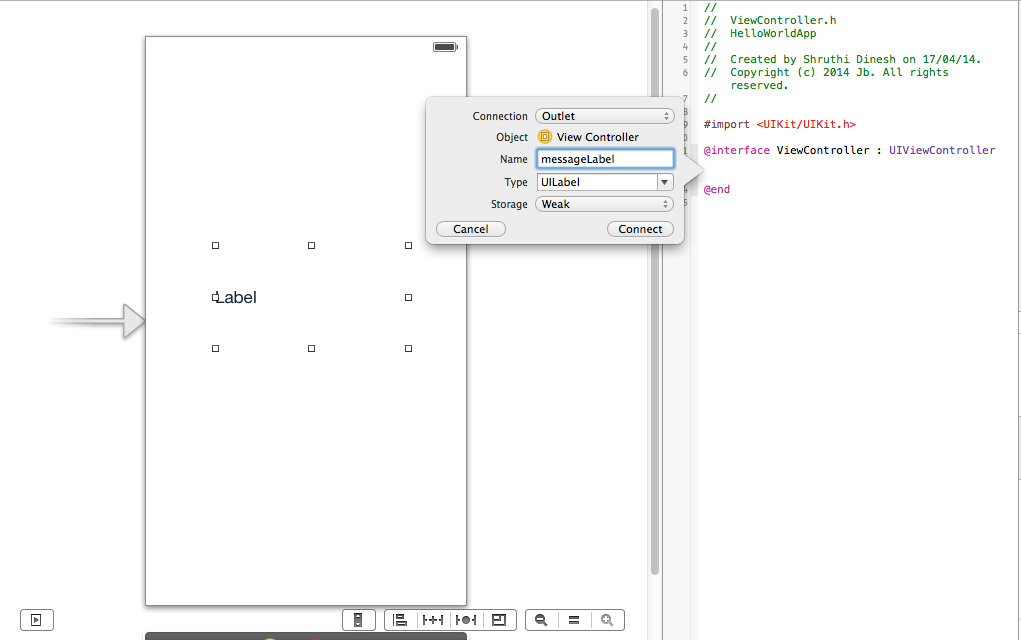
4. Connecting UILabel to ViewController
Connect the outlet UILabel to the viewcontroller class so that we can acces theUILabel and modify the properties of UILabel.
- Click on show assistant editor in the tool bar to display its controller class (ViewController.h) on the right side.

- Select the label in the view, cntrl- click and drag the control to ViewController.h and insert an outlet with the name for UILabel as “messageLabel” and click “Connect” as shown below.
5. XCode Example Application
Once we have created a outlet and connected to the viewcontroller class, we can start coding.
- The following code will be present in ViewController.h class when we connect the outlet UILabel.
#import <UIKit/UIKit.h>
@interface ViewController : UIViewController
@property (weak, nonatomic) IBOutlet UILabel *messageLabel;
@end
- Write the following code in ViewController.m class to display the message “Hello World” when we run the application.
- On loading the view, we are setting the text property of the label. The code is written in “ViewDidLoad” method.
@interface ViewController ()
@end
@implementation ViewController

- (void)viewDidLoad
{
    [super viewDidLoad];
	// Do any additional setup after loading the view, typically from a nib.

    self.messageLabel.text = @"Hello World";
}

- (void)didReceiveMemoryWarning
{
    [super didReceiveMemoryWarning];
    // Dispose of any resources that can be recreated.
}
@end
6. Build and Run The XCode Application
- Now we have completed the application, let us build and run the application.
- In the menu bar, click Product->Build or Command+B to build the application.
- In the menu bar, click Product->Run or Command+r or symbol
 to run the application.
 - We can also select the simulator by clicking on “set Active scheme”

When we run the application, the application looks like below,

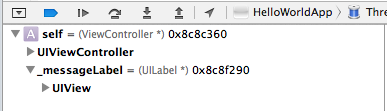
7. Debugging
To debug, put a break point as shown below and build. The control stops at the break point when we run the application and we can resume, or step into or step over the function by using the options shown in the below snap shot.

 Spring Data REST Exporter