This tutorial presents how to develop a web application using PrimeFaces using Spring ROO and Spring Data JPA. In our previous tutorials we have explained each topic with more examples. Spring ROO is the rapid application development tool for the spring applications. It improves the productivity of software development.
To Getting started this tutorial, be sure that you are familiar with the Spring Roo, how to install Roo command shell and installing Roo plugin into Eclipse IDE. If you’re not, you can refer into one or more of the published tutorials below.
Also read:
1.Tools Required
The following tools are used for completing this tutorial. Before start working on this tutorial, lets install all the softwares mentioned in the below list.
- JDK 1.7.
- Maven 3.2.1.
- Spring Roo 1.2.5.
- Eclipse IDE Kepler 4.3.
- MySQL 5.
- Tomcat 8.
2. Database Model
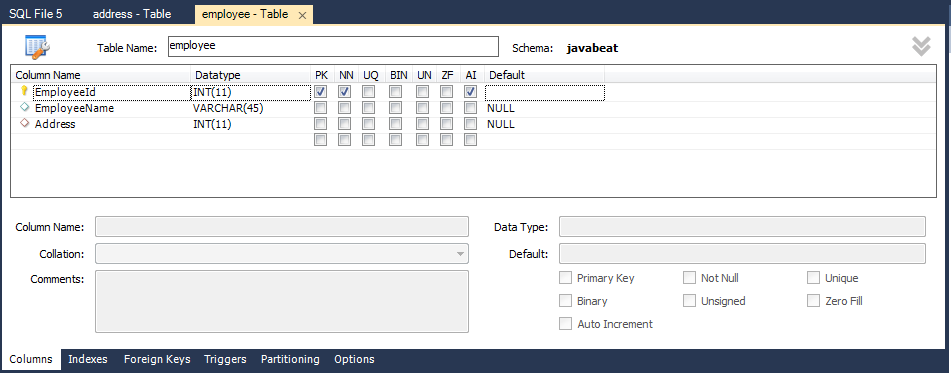
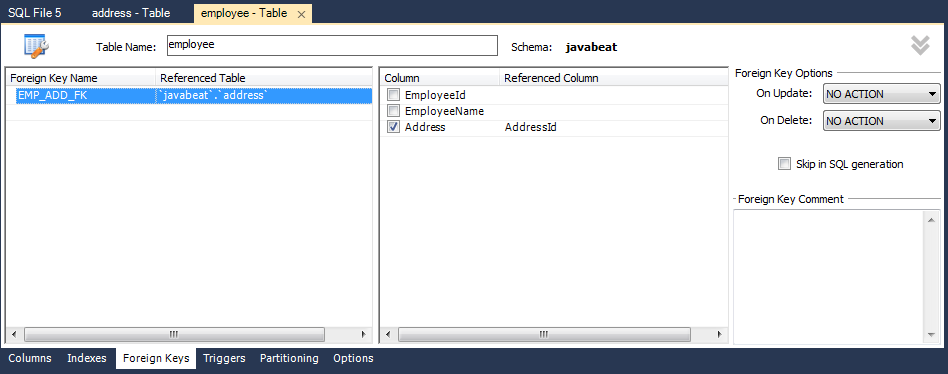
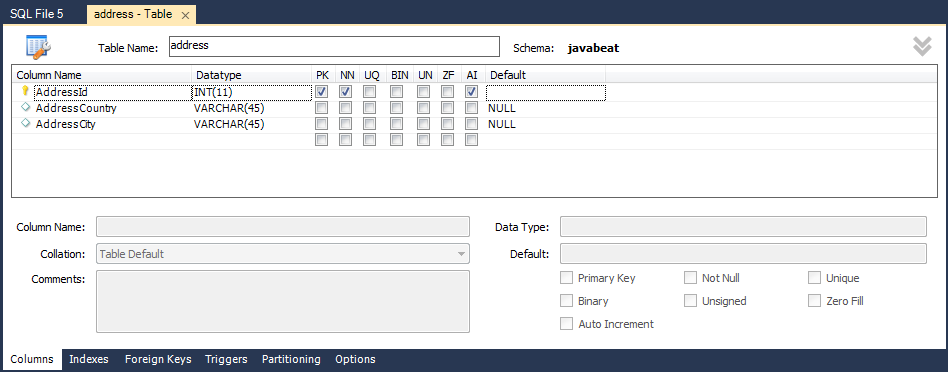
It’s just database tables, that created into MySQL and it will be used for persisting the data that the example application should use.
3. Creating Spring Roo Project & Prepare Roo Shell
It’s the required steps for creating a Spring Roo project inside Eclipse IDE. After creating the Spring Roo project, Spring Roo instructions will be executed from there. So, follow the below steps:
- Open Eclipse IDE.
- Right-Click on the project explorer -> New -> Other -> select Spring Roo Project.
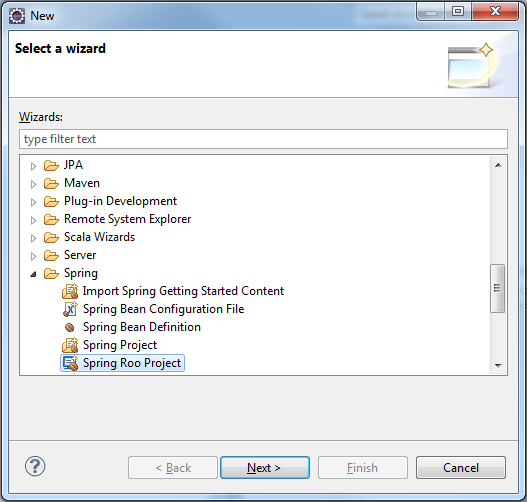
- Click Next.
- Type inside Project name the name you want. For us, we use SpringRoo-SpringData-Primefaces.
- Type inside the Top level package name the package hierarchy you want. For us we use net.javabeat.
- From Roo Installation, be sure that you’re using the installed Roo 1.2.5.
- From Package Provider, select the WAR.
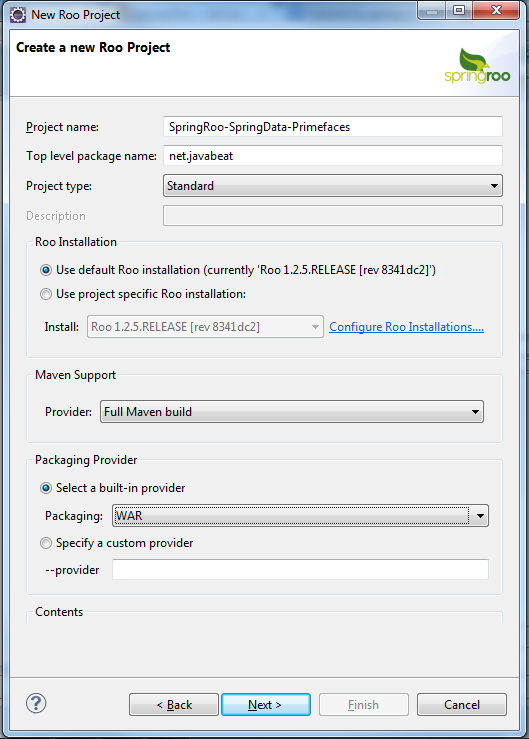
- Click Next & Finish.
- Wait for being Roo command shell ready for use.
- If you’ve got message likewise Please stand by until the Roo Shell is completely loaded. You can avoid it by restarting the Eclipse IDE.
- Inside your Roo Shell area inside Eclipse you must see Open Roo Shell for projects. Just click on it.
- Select your Roo project that you want the Roo commands to be executed against it. For our case, select the same name of the created project. Click Okay.
- Roo shell must be opened and get ready for use.

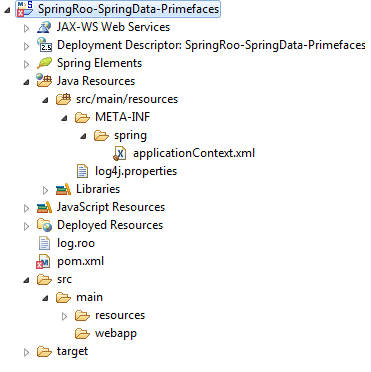
- The Roo project has been created and the Spring Roo shell is ready.
- The same project can be created through Roo shell by executing the project –topLevelPackage net.javabeat –projectName SpringRoo-SpringData-Primefaces –java 6 –packaging WAR
4. Creating Entities
Once project structure is created using the Spring Roo command shell or Eclipse, here is the required instructions that will be executed for creating the persistence entities . Once the Roo shell be ready for accepting your commands, you’ll start creating the persistence layer.
- Executing of persistence setup –database MYSQL –provider ECLIPSELINK –hostName localhost –userName root –password root –databaseName javabeat will create the required persistence configuration for you.
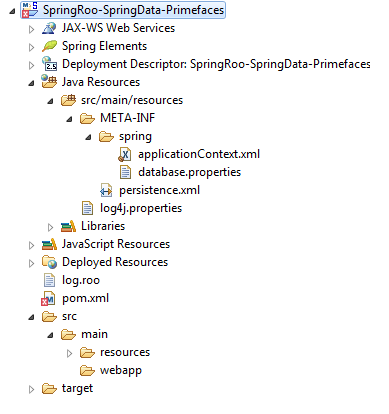
Preparing the persistence layer is necessary for getting started creating the required entities (business domain). For simplicity, we’ve provided only two entities; an Employee and Address are associated each together through a one to one relationship. So, let’s start creating the Address.
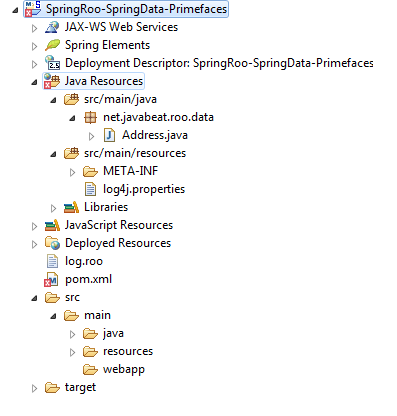
- Execute entity jpa –class ~.roo.data.Address
- Add addressId by executing field number –fieldName addressId –type java.lang.Integer –notNull
- Add addressCountry by executing field string –fieldName addressCountry –notNull
- Add addressCity by executing field string –fieldName addressCity –notNull
Now, let’s creating the Employee.
- Execute entity jpa –class ~.roo.data.Employee
- Add employeeId by executing field number –fieldName employeeId –type java.lang.Integer –notNull
- Add employeeName by executing field string –fieldName employeeName –notNull
- Add address association member by executing field reference –type ~.roo.data.Address –fieldName address –notNull –cardinality ONE_TO_ONE
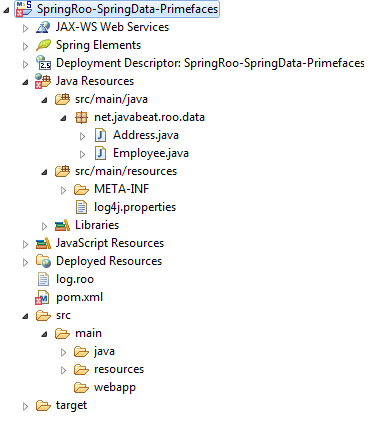
You are ready with the entities class in your Spring Roo project.
5. Creating Spring Data Repository
Here is the required instructions that needs to be executed for creating the Spring Repositories that used for handling the CRUD operations against defined entities. For creating your repositories, you have to execute the following instructions.
- Creating EmployeeRepository will be done through using of repository jpa –interface ~.roo.repo.EmployeeRepository –entity ~.roo.data.Employee instruction.
- Creating AddressRepository will be done through using of repository jpa –interface ~.roo.repo.AddressRepository –entity ~.roo.data.Address instruction.
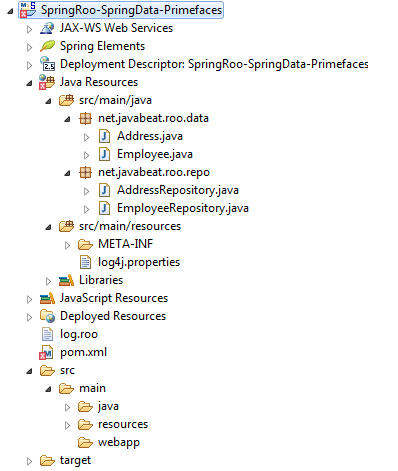
6. Creating Primefaces / Web Layer
In the above steps, we have created the persistence entities using the Spring Roo commands, now the next task would be to create the web application. Here is the required instructions that will be used for creating the presentation layer using PrimeFaces and its JSF managed beans.
- Setup the web layer by executing web jsf setup –implementation ORACLE_MOJARRA –library PRIMEFACES –theme EGGPLANT , by running this command, all artifacts that needed for configuring a web will be added in addition to all of those libraries that needed for configuring the PrimeFaces. That is awesome work from SpringRoo.
- Creating your managed beans should be done through executing of web jsf all –package ~.roo.web
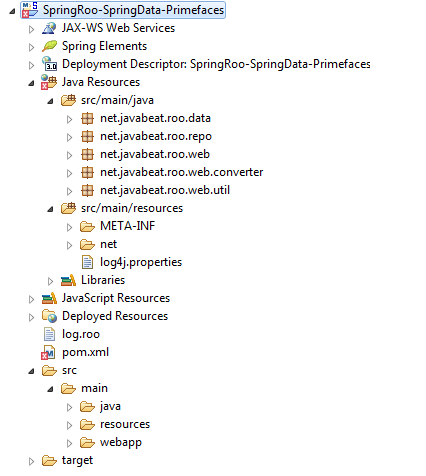
7. Build the Application Using Maven
Now its time to build the the application using installed Maven. Navigate into your project using windows command and execute mvn clean package for getting a deployable WAR file. You can control the name of the generated WAR by changing the name of the artifact inside the pom.xml.
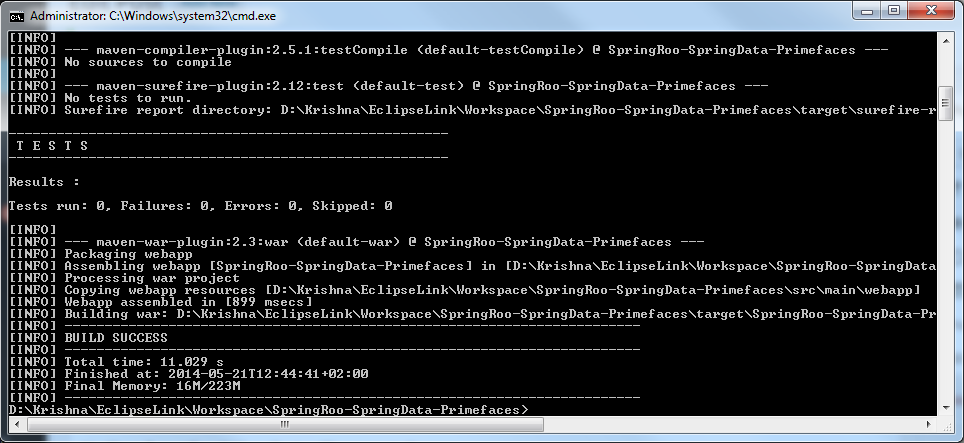
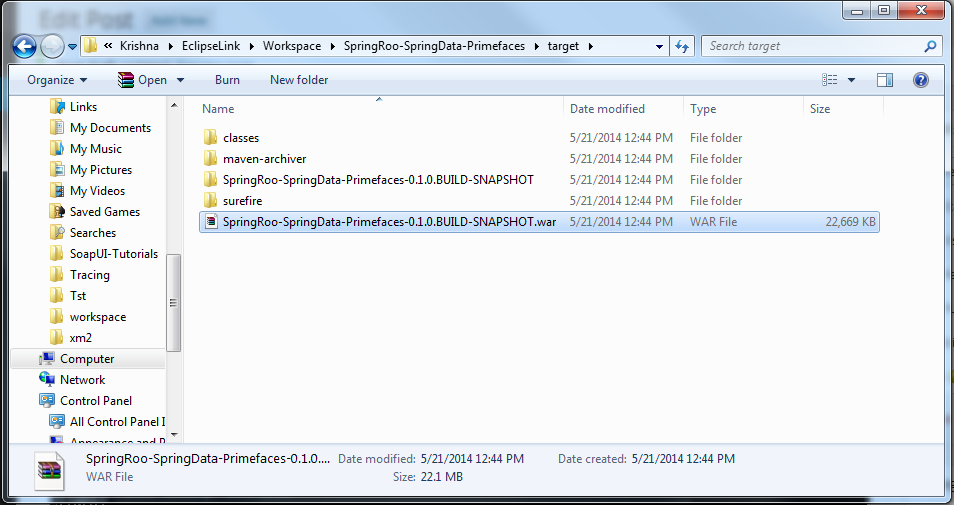
The WAR file it will be generated and located under target folder. Copy it from there and put it inside the your Apache Tomcat webapps folder and start your Apache Tomcat instance.
8. Spring Roo + Spring Data + PrimeFaces Application


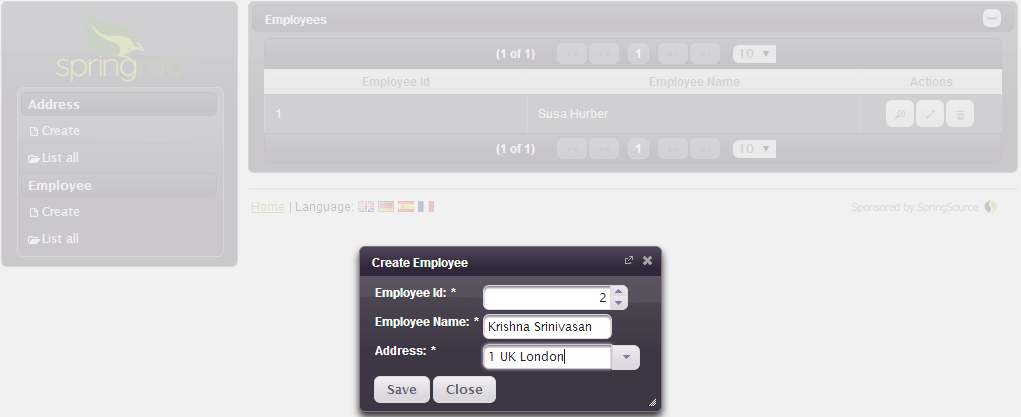
One major point for this example we’ve left the <property name=”eclipselink.ddl-generation” value=”drop-and-create-tables”/> as is, in order to allow the persistence layer dropping tables and re-generate them accordingly to those defined entities.
9. Database Record


10. Summary
You’ve just developed a Spring Roo application that combine the integration with the Spring Data repositories and PrimeFaces. It is awesome that Spring Roo does everything for you. If you have any questions, please write it in the comments section.
