
This tutorial guides you through writing REST APIs StrongLoop Arc tool. This is an alternative to its command line tools for developing REST APIs. When you finish this tutorial, you will be able to develop REST APIs using the StrongLoop’s Arc UI composer.
In our previous post we saw how to create REST API using Loopback and MySQL by using the command line tool slc. StrongLoop also provides a UI composer for building the APIs and that UI composer is called StrongLoop Arc. In this post let us see how we can build the APIs using the UI composer.
Creating empty Loopback project
First let us create an empty Loopback project using the command slc loopback:
G:\node>slc loopback

     _-----_
    |       |    .--------------------------.
    |--(o)--|    |  Let's create a LoopBack |
   `---------´   |       application!       |
    ( _´U`_ )    '--------------------------'
    /___A___\
     |  ~  |
   __'.___.'__
 ´   `  |° ´ Y `

? What's the name of your application? loopback-rest-uicomposer
? Enter name of the directory to contain the project: loopback-rest-uicomposer
   create loopback-rest-uicomposer/
     info change the working directory to loopback-rest-uicomposer
And enter the name of the application as loopback-rest-uicomposer as shown above.
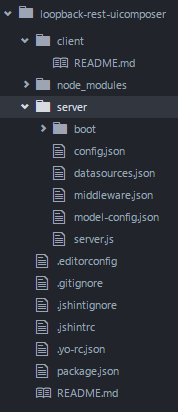
Once the application is created, change the directory to the app you have created now: cd loopback-rest-uicomposer. The project structure is as shown below:
Next is to install MySQL connector for loopback by running the following command: npm install --save loopback-connector-mysql
Launching Strongloop Arc tool
Once you are in the app directory i.e in the loopback-rest-uicomposer directory, run the below command to launch the Strongloop Arc tool. It gets launched in your default browser.
G:\node\loopback-rest-uicomposer>slc arc
Loading workspace G:\node\loopback-rest-uicomposer
StrongLoop Arc is running here: http://localhost:49619/#/
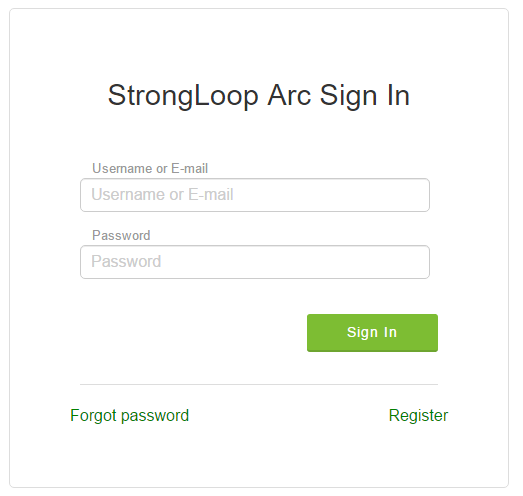
And the app gets launched in the browser you will be able to see a login box. If you are first time user you would have to register at https://strongloop.com/register/ and then use the username and password to login to the application:
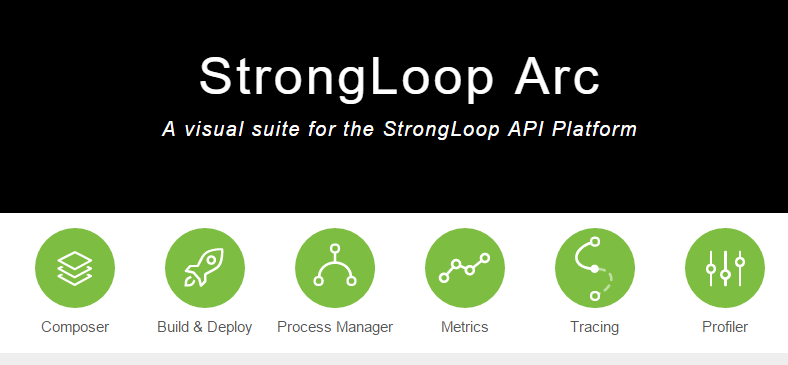
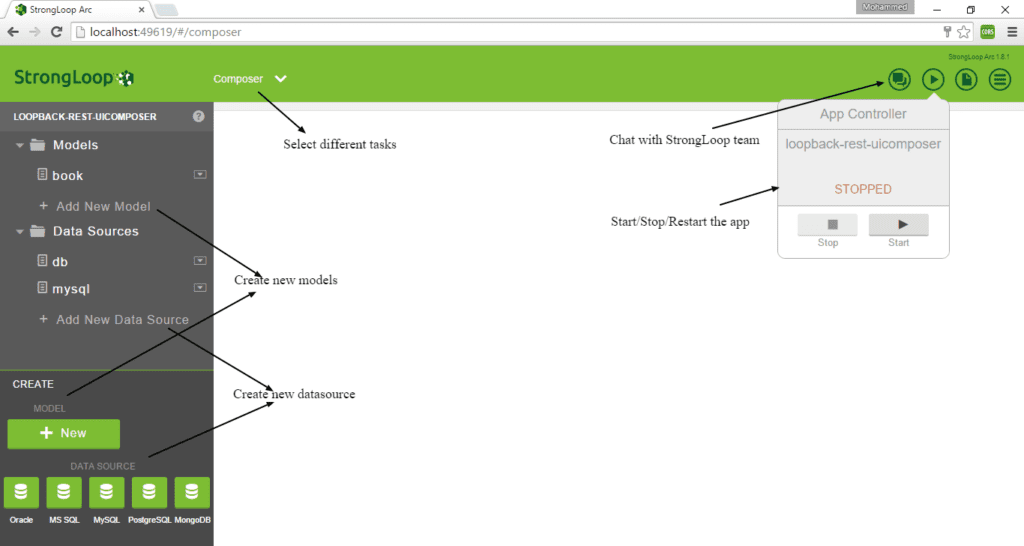
 After login you will be able to see the features supported by StrongLoop Arc as shown below:
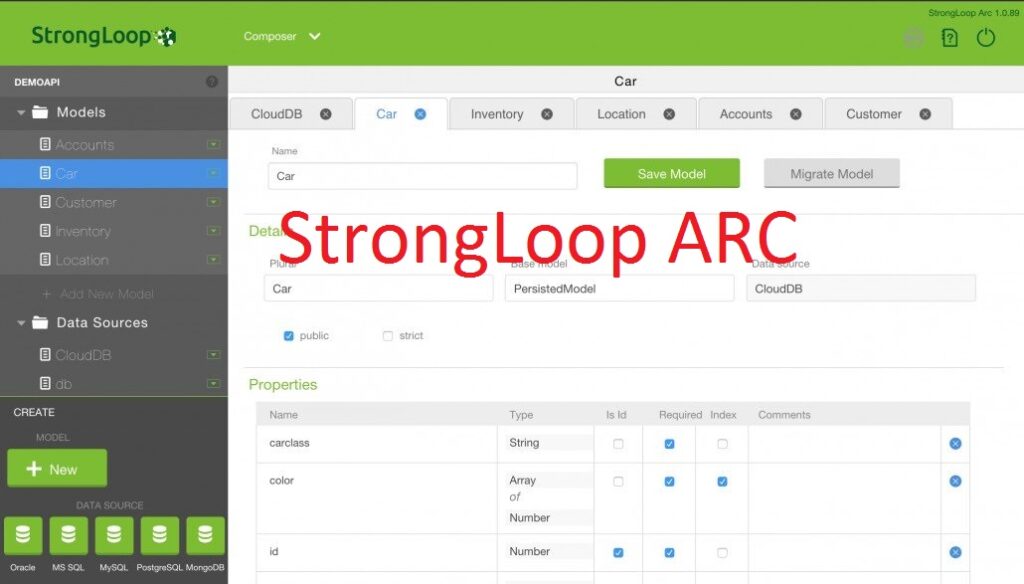
Click on the Composer button to open the API composer UI. The composer UI looks like below:
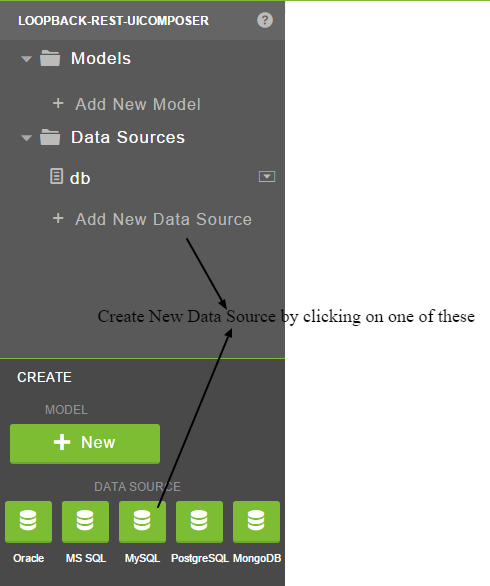
Creating MySQL Datasource
New datasource can be created either by clicking on the button MySQL button or the Add New Data Source link as shown below:
You will get an UI to configure your data source. Fill it with the connection settings as shown below:
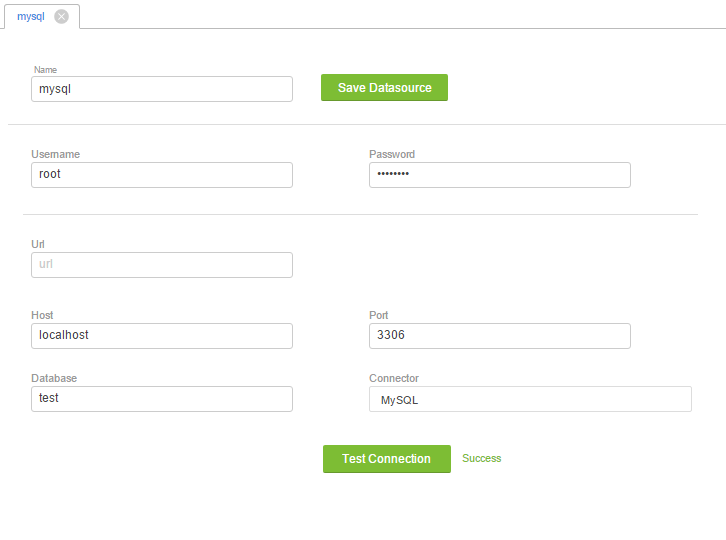 Click on Test Connection button to test the connection. You will see Success printed beside the button as shown below:
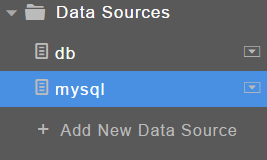
 After you click on Save Datasource button you will see the new datasource listed under the data source as shown below:
Creating Book Model
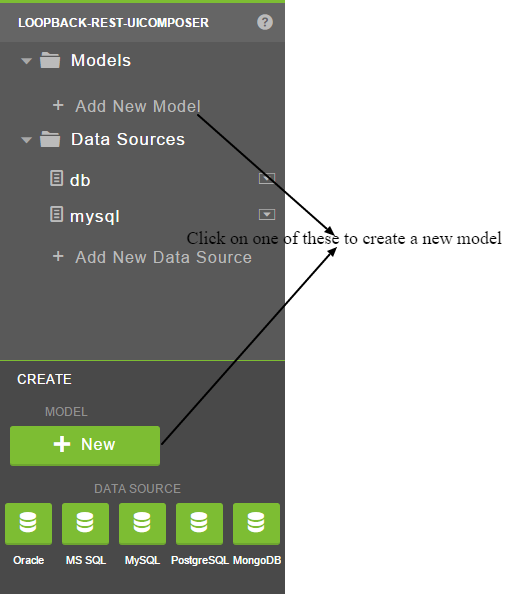
New model can be created by clicking on the button New or on the Add New Model link as shown below:
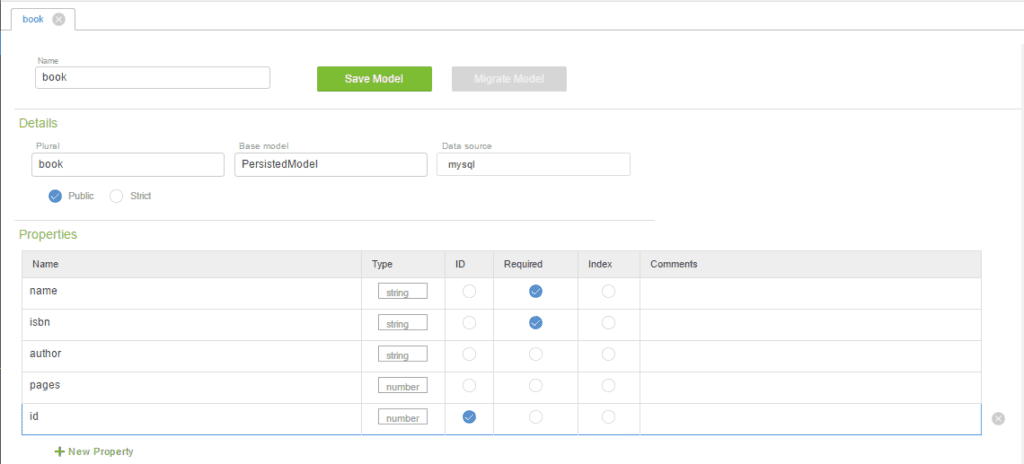
 You will get an UI to configure your model. Fill it with the model details, properties and also select the data source as mysql as shown in the image below:
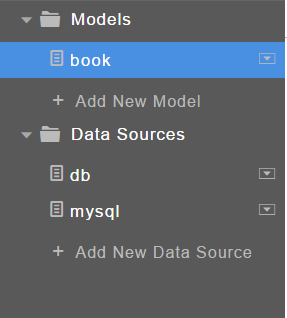
Click on the Save Model button to find the model created and listed under the available models as shown below:
Running the application
StrongLoop Arc provides buttons to launch the application and these are available in the top right corner as shown below:

Open the URL: http://localhost:3000/explorer/ in the browser to view the APIs available. You can test the APIs as explained in the previous article.
Conclusion
In this article we saw how we could leverage the StrongLoop Arc tool to compose the APIs visually. The Arc tool also supports the following:
- Building and Deploying the app
- Process Manager
- Tracing the app
- Profiling the app
- Collecting app metrics
We will explore the other features in the coming articles.
 Node.js : Building RESTful APIs using Loopback and MySQL