
To sort an array in ascending order in Java, use the sort() method or sorting algorithms, like bubble, selection, quick, etc.
Java

How to Convert a Date to dd/MM/yyyy Format in Java
To convert a date to a “dd/MM/yyyy” format in Java, use the “SimpleDateFormat()” constructor or the “ofPattern()” method of the “DateTimeFormatter” class.

How to Capitalize the First Letter of a String in Java
To capitalize the first letter of a string in Java, use the “substring().toUpperCase()”, “Matcher.replaceFirst()”, or “StringUtils.capitalize()” method

How to Get Current Year in Java
To get the current year in Java, you can use different built-in classes as well as third-party libraries, such as Calendar, Year, CalendarUtils, Joda Time, etc.

How to Calculate Percentage in Java
To calculate percentage in Java, you can use the standard percentage formula (i.e., percentage = (parts/whole) * 100) or BigDecimal class.
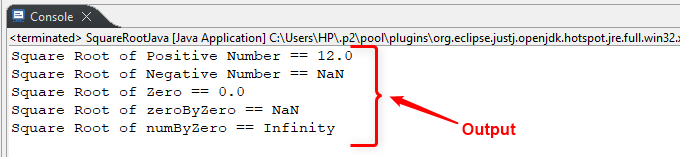
How to Find the Square Root of a Number in Java
To find the square root of a number in Java, use the methods like “sqrt()”, “pow()”, “binary search algorithm”, or “brute force”.
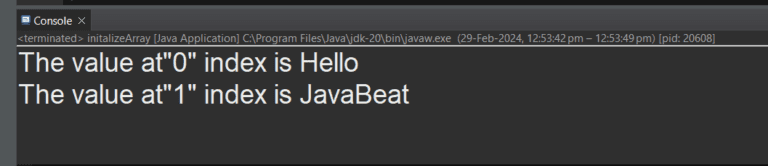
Initialize an Array in Java | Simple to Advanced
To initialize an array in Java, use the default value, “new” keyword, or call the built-in methods such as IntStream.range(), clone(), setAll(), etc.
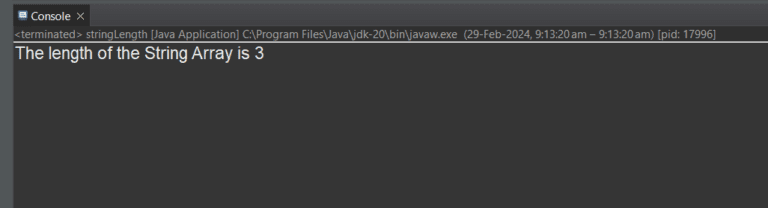
How to Get String Length in Java?
The length() method of the Java String and StringUtils class or the length property for Arrays are used to get the string length as shown in this article.